How to Treat Blisters on a Long-Distance Walk
By Nicky Jacquiery
In my last article I looked at how to prevent blisters, but what should you do if you follow all the precautions and still manage to get a blister when you’re out on your walk?
A lot depends on where you are at the time. Although you should probably stop walking, rest and give blisters the chance to heal in their own time, clearly if you’re out in the middle of a walk you cannot just stop, especially if you’re in a remote location and you have to walk back to your car.
In this case, you need to do what you can to ease the pain and minimise any further damage, so you can at least continue walking.
What Should I Do When I Get A Blister?
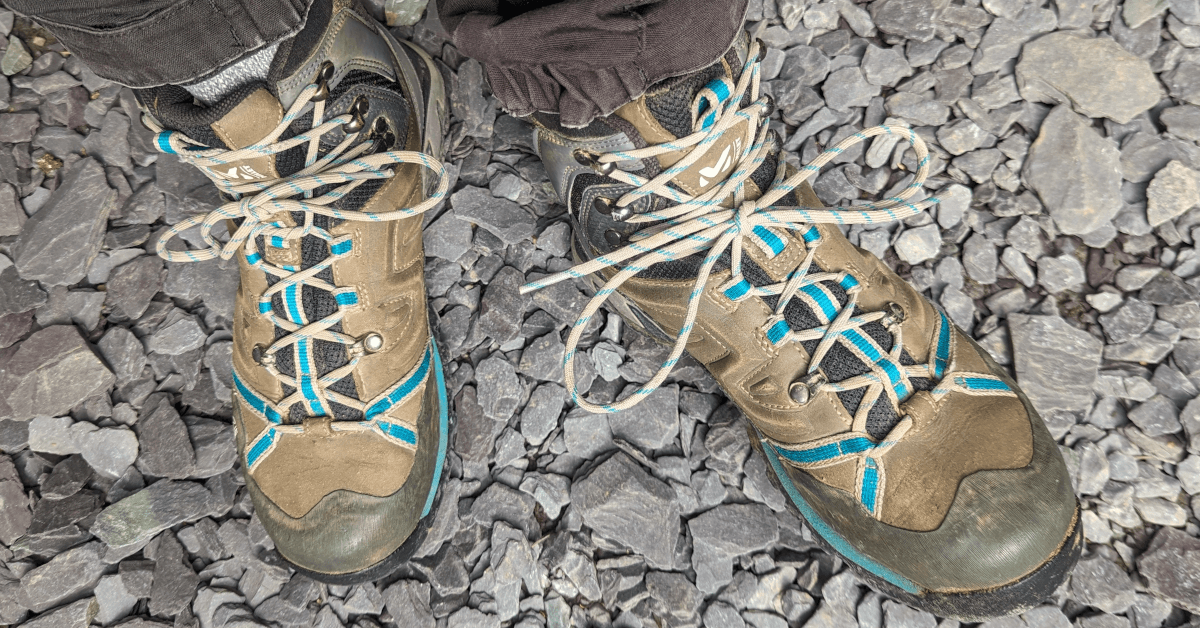
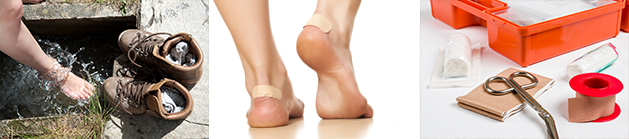
When you first feel you might have a blister, stop walking, take your boots off and assess the damage. The blister will probably feel a lot worse than it actually looks! If it’s small and the skin hasn’t broken, don’t interfere with it. Small blisters that are not painful should be left alone, because the best protection against infection is the skin of the blister itself.
Still, remove any debris that may have become stuck in your boot, and if you can, change your socks. Clean the blister and the surrounding area as much as you can. It’s unlikely that you’ll be carrying any disinfectant or sterile solution, so use whatever clean water you have to hand.
Next, try to alleviate the friction and prevent the blister from growing larger. Cover the actual blister with a piece of gauze and then cut a hole the size of your blister in a piece of moleskin or adhesive dressing. Place the moleskin around your blister so that the blister rests in the middle of the hole and the moleskin sticks to the skin surrounding it. This avoids placing pressure directly on the blister itself and prevents further friction.
Treating Larger Blisters
With a larger blister that’s causing you pain and is full of liquid, especially if it’s in a position where it’s likely to burst such as on the sole of your foot, it’s best to drain the blister. Painful blisters are caused by the build up of fluid, so bursting it will help to relieve the pain. If you don’t drain the blister it will probably burst of its own accord anyway and then you risk it becoming infected.
Ideally, you need to sterilise a needle, either by using alcohol, a lighted match or boiling water, but in reality this may not be possible. Also, it goes without saying that you need to clean your hands before touching the blister! Using a needle, puncture the blister at the point near to where it begins to rise above the skin and carefully press the blister so that the fluid drains away from it.
Leave the skin overlying the blister intact to prevent infection. Allow the blister to dry and harden in the open air for as long as you can.
If you have some antibiotic cream or gel in your first aid kit then apply this to the blister, paying particular attention to the site where you inserted the needle, and cover the entire blister with a gauze pad. This will absorb any further fluid from the blister and also allow it to breathe and continue drying out.
Check the blister at each stop, making sure it’s clean to prevent infection and again, give it as much time to dry off as you can.
How To Treat Burst Blisters
With burst blisters where the skin has already broken, don’t peel off the skin on top of the blister. Even though it may be tempting, avoid picking at the remaining skin. Clean the area and apply antibiotic cream before covering it with a dry, sterile dressing to reduce the risk of infection.
Once you’re back home, depending on the size of the blister and the amount of fluid, you may need to apply further dressings at regular intervals and keep an eye on the area to make sure it hasn’t become infected.
After a few days, new skin will grow underneath the blister and the fluid in the blister will gradually be reabsorbed. The remaining dead skin that’s left on top will dry out and you can cut it off.
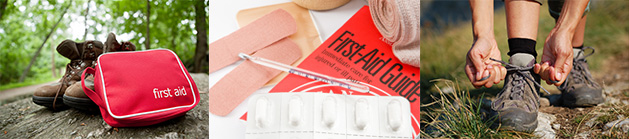
Improving Your Trailside First Aid Kit
Now that you’ve read this article, you might want to revise what’s in your first aid kit and add any further supplies mentioned here which you may not have already, such as matches and antibiotic cream.
It’s always best to be prepared, as even the most experienced walkers amongst us will have had occasions where we’ve developed a blister and know how painful each additional step can be. In those situations you don’t want to be in the embarrassing position of being caught out without the supplies in your first aid kit to treat a blister!
Still Worried About Blisters?
There are plenty of gentle or short walking holidays ideal for a new walker concerned about blisters. Our Stile-Free walking holidays have minimal inclines and tend toward short daily mileages, so there’s less stress on your feet.
Top posts