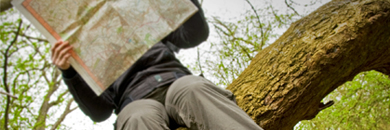
Learning to Navigate: Reading a Map
Learn to navigate with a map with this step-by-step guide.
Learning to Navigate: Reading a Map
https://www.contours.co.uk/navigation-part-i-reading-a-map
by Nicky Jaquiery
Whether you’re new to walking or have many years of experience on the hills, you’ll enjoy your walk more if you can comfortably navigate your way around the countryside. Understanding how to read a map and then using this knowledge to find your way is the first essential skill in navigation.
Contrary to popular opinion, knowing how to read a map is not difficult. Once the basic skills have been mastered, it just requires plenty of practice in the outdoors. This in itself can be a pleasant experience, adding a new dimension to your walks. In fact, you’ll soon discover that there is nothing more rewarding than using your map to get yourself from A to B… without getting lost!
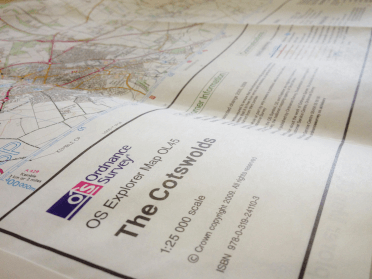
Although it may seem obvious, the first thing to do is to make sure you have the right map.
As a walker, I find the most useful maps are the Ordnance Survey Explorer series, which use a scale of 1:25,000. This means that every 1cm on the map represents 25,000cm or 250 metres on the ground. The scale is normally located at the bottom of the Explorer maps and is useful for working out distances as well as determining how far it is to your destination.
These maps come into their own when you’re out walking. They show in detail what’s around you, including field boundaries, buildings, woodland, the contours of the landscape, and most importantly for walkers, the footpaths that you have the right to walk along.

All maps will have a legend or key of symbols that represent the different features on the ground. Although it’s not necessary to learn these symbols, you’ll find that the more you use a map, the more familiar you will become with them and the less time you’ll have to waste opening up your map to check the key, which can be very frustrating when it’s raining or blowing a gale!
One thing to remember is that rights of way marked on a map may not always show up on the ground, and especially in less well-walked areas, paths are not necessarily visible.
Another point to bear in mind is that we live in a landscape that is constantly changing, which means that your map may not match up with what you see on the ground. Don’t be surprised if an area of woodland or a building that is shown on your map is no longer there!
Understanding the shape of the land and being able to visualise what the landscape looks like by reading the contour lines on a map is a very useful skill to develop.
Contour lines join together points of equal height and appear on the map as thin orange or brown lines with numbers on them. The number tells you the height above sea level of each line, and the difference in height between the contour lines is normally 10 metres. You can check this using the map key.
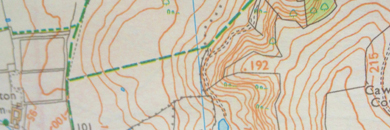
Once you know how to read contour lines, you will know how to distinguish between hills and valleys and how steep a slope is. The closer together the contour lines are on a map the steeper the ascent or descent for you as a walker; the further apart the contour lines are, the flatter the gradient.
This information will help you to decide on the best route for your walk. Plus, it’s important to know where the hills are so you can avoid a tiring climb at the end of your walk!
All Ordnance Survey maps are criss-crossed by blue lines in the shape of a grid. The vertical grid lines that are repeated across the map from left to right are called ‘eastings’ because the line’s number increases as you head in an easterly direction. The horizontal lines that are repeated from the bottom to the top of the map are ‘northings’ because the line’s number increases as you head in a northerly direction.
These are spaced at 4cm intervals on the Explorer maps, and the distance between them always represents 1km of actual distance. These grid lines help you to pinpoint your exact location anywhere on a map by using a unique six-figure grid reference.
It’s easy to work out what a particular grid reference should be if you remember the saying that I was taught, “go along the corridor and then up the stairs”!
Firstly, go along the bottom of your map, i.e. the corridor, until you come to the ‘easting’ grid line that is at the bottom, left-hand corner of the square that you want. Write down the two numbers of this ‘easting’ grid line. Imagine the square is divided into tenths, and still moving along the corridor, write down the third number according to how many tenths across the square your location is.
Secondly, go up your map, i.e. up the stairs, until you come to the ‘northing’ grid line that is at the same bottom, left-hand corner of the square that you want. Write down the two numbers of this ‘northing’ grid line. Again, imagine that the square is divided into tenths, and still moving up the stairs, write down the third number according to how many tenths up the square your location is.
You should end up with six numbers. When giving a six-figure grid reference it’s important that you always start with the eastings and then move onto the northings.
Although you don’t need to use grid references when planning your walk, it’s wise to invest the time in learning how to give a grid reference in case of an accident, since this makes it simple to tell others, such as mountain rescue, exactly where you are.
Once you have mastered the preparatory skills explained above, you can find your way using a map. There are three key phases that go into navigating this way, as follows.
You need to work out where you are before you can determine where you are going! You can do this by matching what you see with what is on your map. Unless you’re in an isolated location, there will be some obvious features that can help you to do this, such as roads, landmarks and natural features. For example, if you’ve just crossed a river via a bridge, both the river and the bridge will be marked on your map, and so you’ll be able to determine your location.
It’s important to orientate your map so you know which direction to walk in. To do this, it’s easier to physically turn the map so that the symbols on the map are aligned to the features that you can see around you on the ground.
On a map, north is always at the top and south at the bottom. This means that once your map is turned to match the lay of the land, the top will point north. From this you can work out in which direction you need to be walking. There’s nothing more embarrassing than striding out along a path, only to discover that you’re going in the wrong direction!
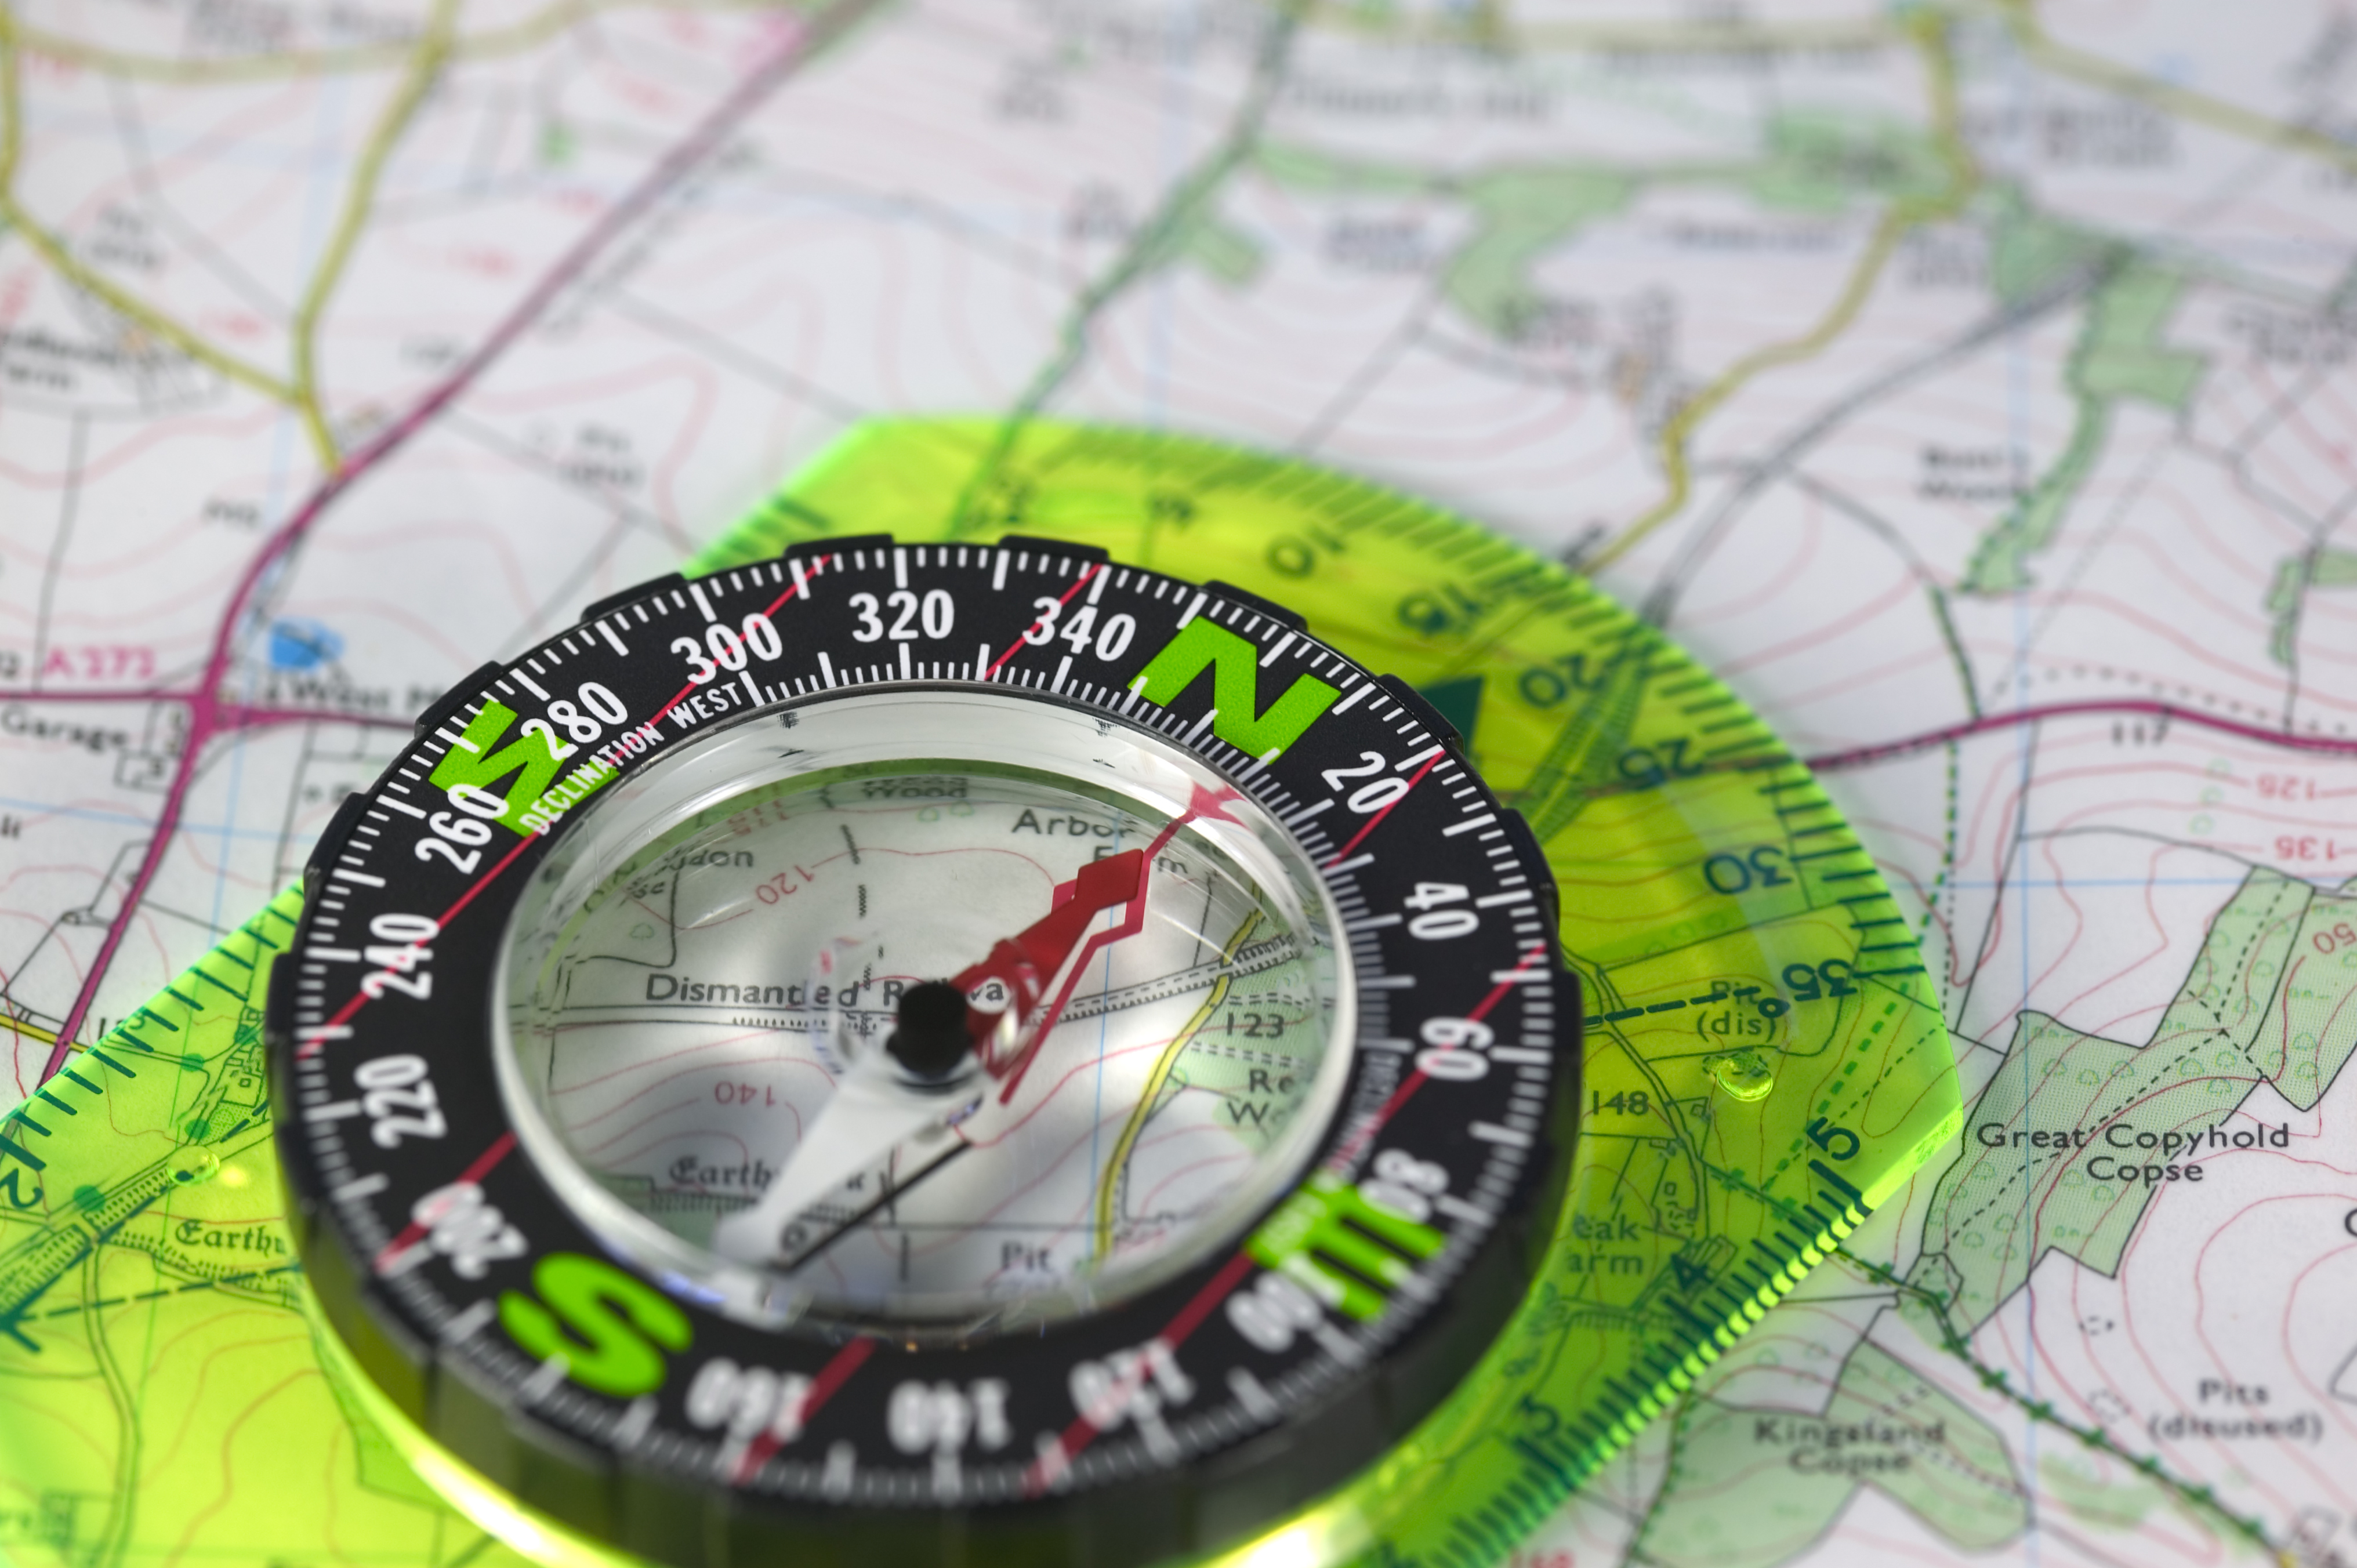
You can also find where north is and orientate your map using a compass. Learn how to find north and use a compass to navigate.
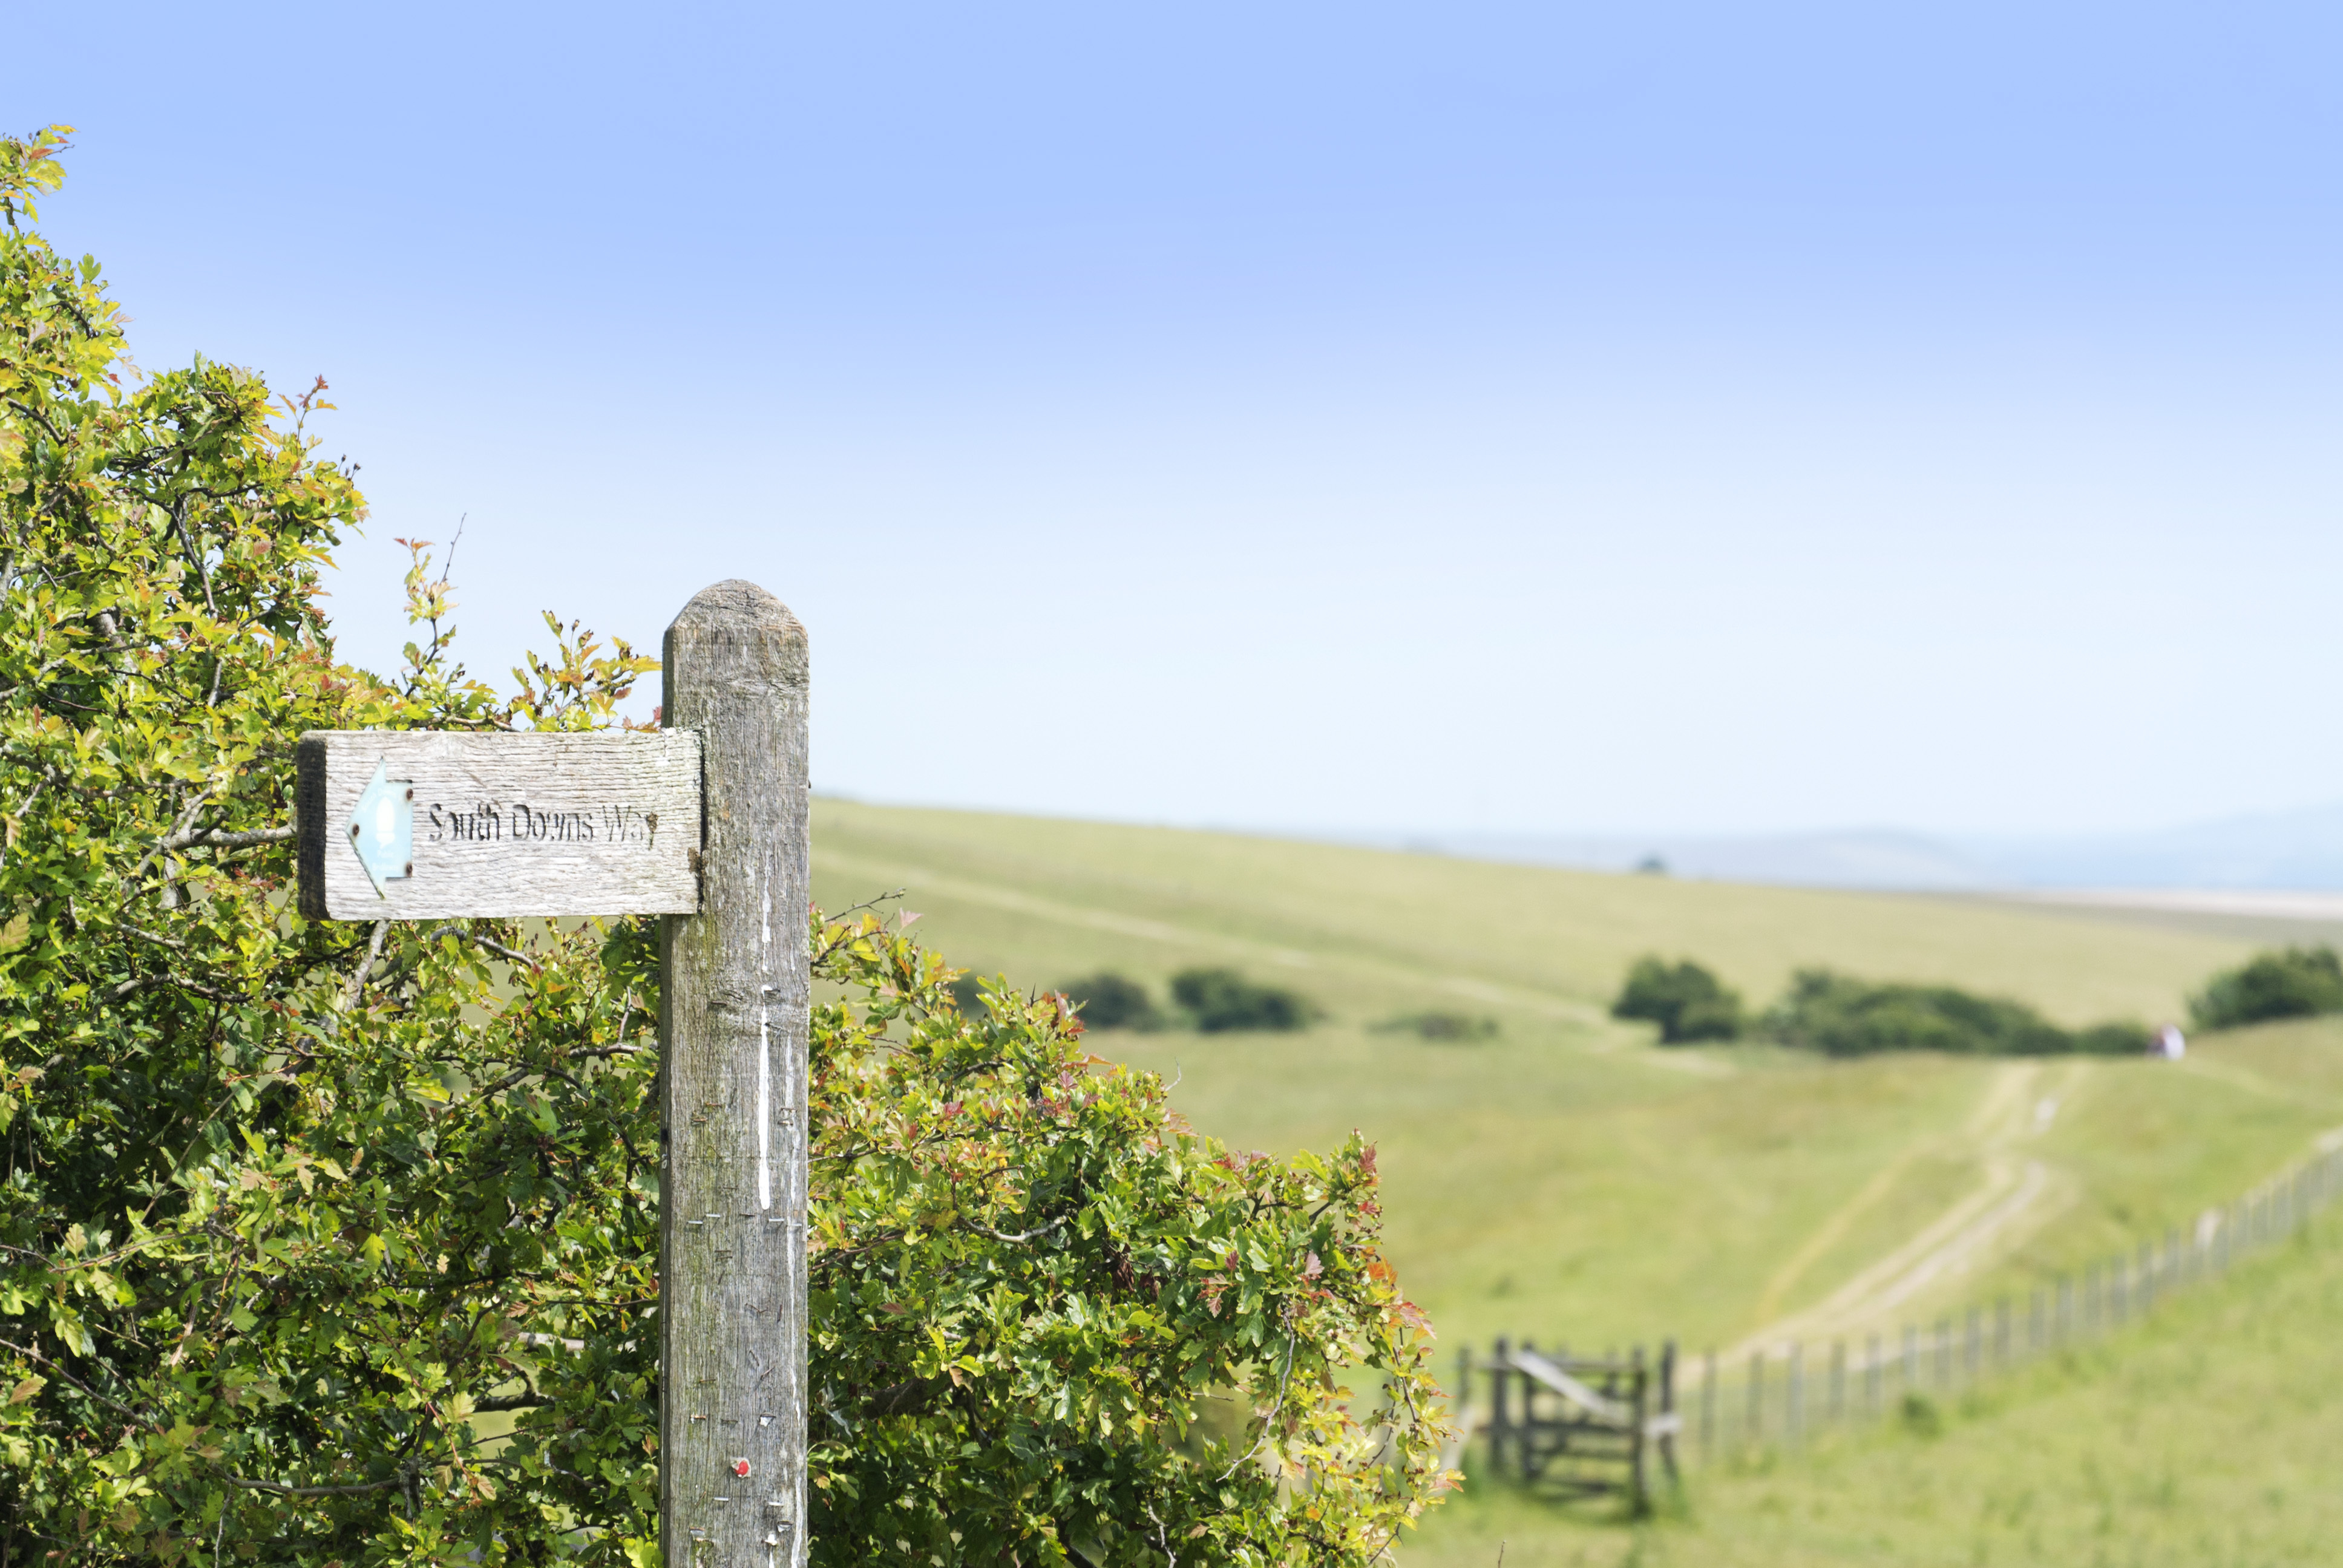
Planning a route that you can follow to your destination will usually be determined by rights of way, such as footpaths and bridleways. These are normally less physically demanding than setting off across open country and they also make route finding easier. If you stick to a path, you are less likely to veer off course, providing you are on the right path in the first place!
The essence of route finding is to select a series of paths that will take you from A to B. It’s also important to select key features or landmarks on the map that you’ll expect to see along your route. These will help you to monitor your progress and also ensure you are walking the right way.
So, now that you know how to read a map, get out there and practise. Remember, reading a map really isn’t difficult. In fact, with a little effort it will soon become second nature. A word of advice though, if you’re serious about learning to map read and you have a GPS, avoid the temptation to use your GPS; leave it in your daypack!