Blister Taping Techniques for Your Next Walking Holiday
Podiatrist Rebecca Rushton delivers some fantastic advice on how to prevent blisters through taping. With explanatory videos.
Blister Taping Techniques for Your Next Walking Holiday
https://www.contours.co.uk/blister-taping-techniques-for-your-next-walking-holiday
by Rebecca Rushton
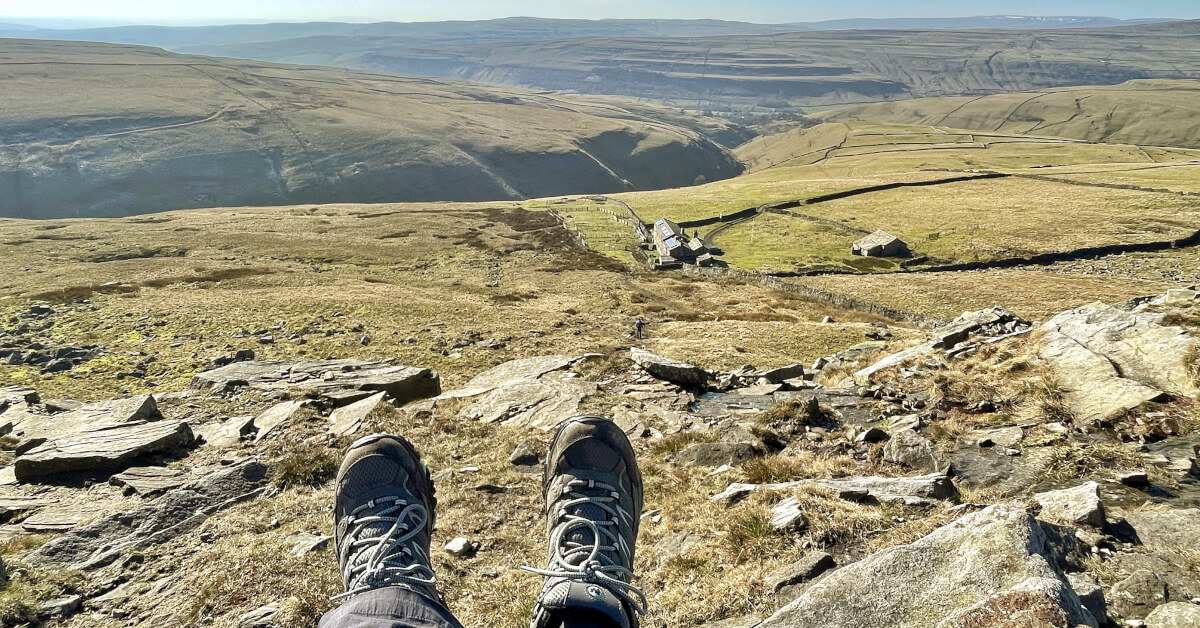
 ©iancorless.com
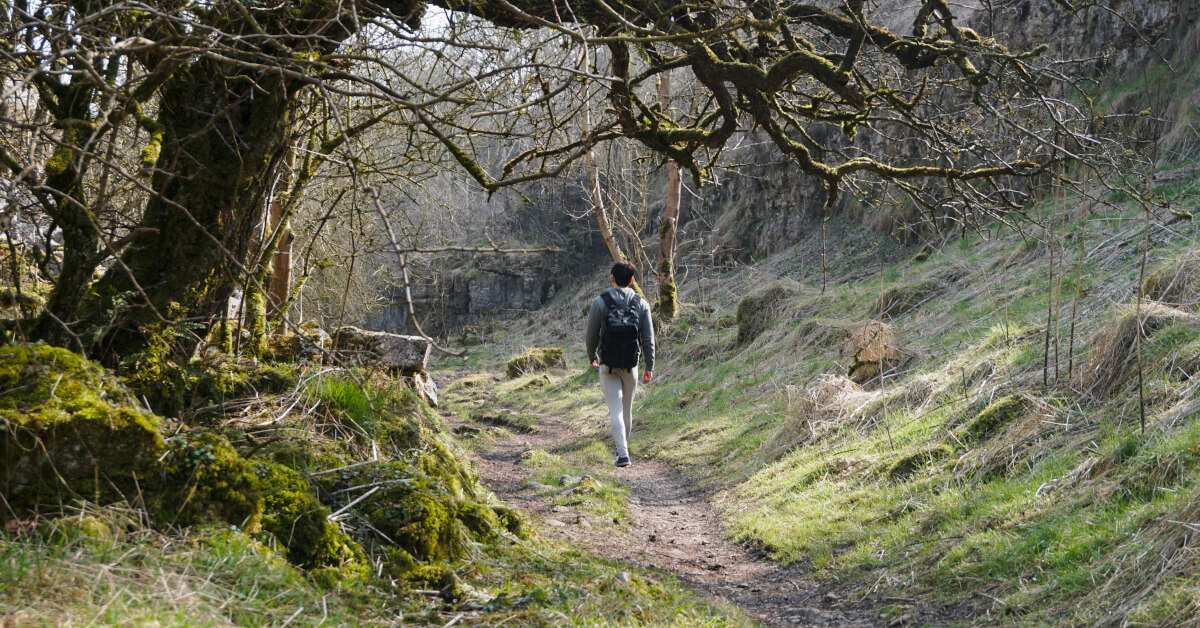
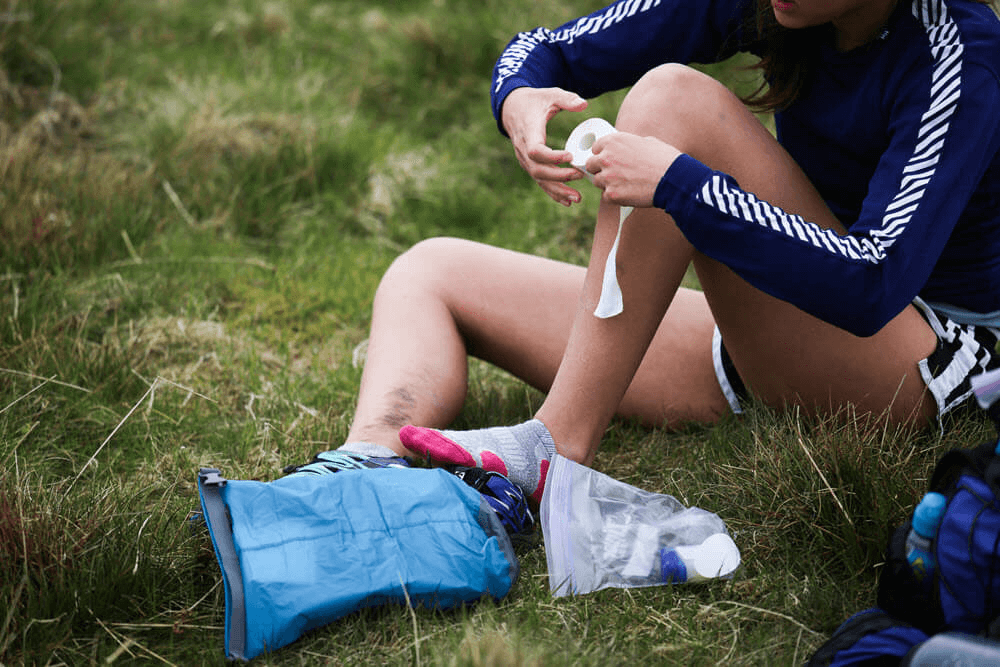
A long walk in the picturesque wilderness of the British Isles requires a certain amount of planning and preparedness. The Contours team loves to help, and they take away much of the logistical burden. But there are some aspects where you need to take the bull by the horns. Foot blister management is one of those.
Prevention is key when it comes to keeping happy feet.
As a podiatrist, I may be biased, but I recommend you prioritise your feet in every way. Footwear, socks, spare socks, lacing techniques, cushioned insoles… leave no stone unturned.
Your feet’s condition will determine whether you finish your walk in pain or with a spring in your step, having enjoyed the very best of outdoor experiences.
In today’s article, I’ll be discussing a specific prevention strategy called foot taping (also known as pre-taping) so that you can use it confidently and be certain you’re getting the best out of this strategy.
I’m pretty sure you’ve heard of preventive blister taping before — it’s probably the most popular blister prevention strategy going around.
If you’re not familiar with this method yet, rest assured I’ll be showing you everything you need to know. I’ll demonstrate three taping techniques for different areas of your foot. We’ll cover the types of tapes you can use and the pros and cons of this strategy for preventing blisters.
It’s important that you know how to tape your own feet. So these easy-to-follow videos show you how I tape my own feet.
Let’s look at three of the most blister-susceptible areas when walking: your toes, the ball of your foot and your heels.
To tape any of your toes, you’ll need two pieces of tape, one slightly wider than the other. Watch the video to understand more about the sizing.
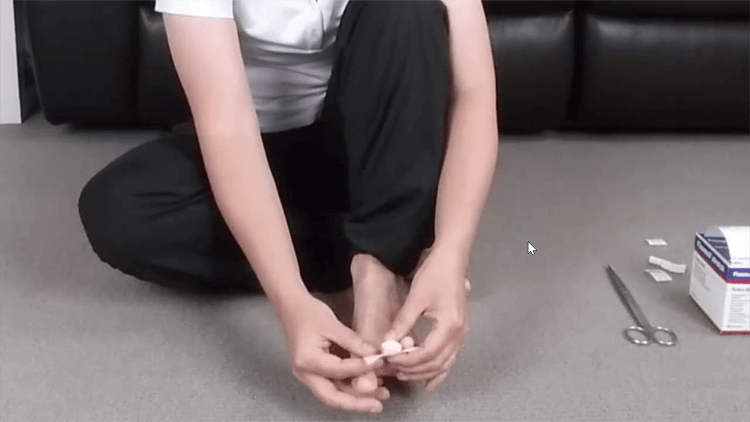
The thinner one goes over the toe. The wider one goes around the toe, just like the picture above.
Don’t put any tension on the tape, just lay it on, because your toes will probably swell a little on your hike owing to how much you’re on your feet.
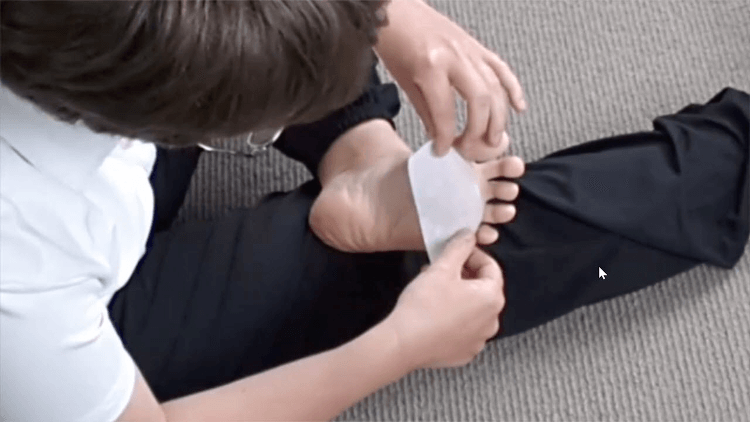
You need two pieces of tape for the ball of your foot, both just a little longer than the width of your forefoot. You want the ends to finish just a little on the top of the foot. And it’s best to round the edges here.
You’ll be applying the piece that’s going closest to your toes first. Cut it so it fits the shape of that part of your foot, like I have in the picture below.
Then, once it’s on, make two strategic cuts in the tape to prevent creasing. Watch the video to see what I mean.
Finally, put the lower piece on. By having the ends finish on the top of the foot a little, the edges are less likely to catch and roll back.
You’ll need three pieces of tape for your heel — two long ones and one really short one. Put the short one on first, right at that curvey part of your heel. No need to round the corners, just make sure it goes on without any creases. Then use one of your longer pieces to cover the bottom of your heel, overlapping the little piece. Then do the same but covering the back of your heel.
As with every taping, be careful when you put your socks on. The last thing you need is to catch an edge of your tape and cause it to roll back. These lumpy bits can end up causing blisters rather than preventing them.
I’ve used Fixomull Stretch 5cm in these videos. But you can use any tape you like. Stretchy tapes like Fixomull Stretch, Rocktape, Kinesio Tape, Elasticon and Fleecyweb make it easier to apply smoothly and avoid creases. This is especially helpful around the toes.
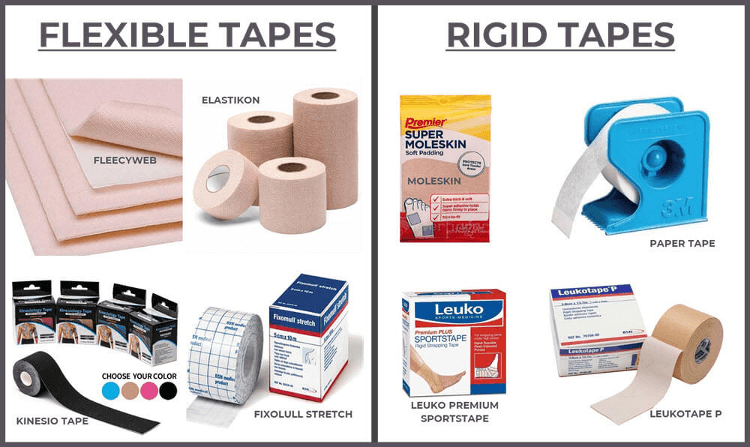
However, rigid tapes probably perform a bit better at spreading the blister-causing shear forces. Brands like Leuko, BSN and Vulkan all make rigid tapes and are often referred to as “zinc oxide” tapes due to the type of adhesive they use.
Other rigid tapes you may know are the good old paper tape and moleskin (some moleskins). And of course, duct tape is a rigid tape, but its adhesive is not medical grade so it shouldn’t be applied to the skin.
A lot of people remain blister-free simply by taping their blister-susceptible areas. That’s why I recommend starting with taping. However, some of us who are a little more blister-prone still get blisters in spite of taping. Here’s why:
Contrary to popular belief, blisters are not a “wear” injury. It’s not like your skin is rubbed and rubbed and this wears right through your skin, from superficial to deeper layers. If it was, tapes would fix the problem because you’d have to wear through the tape first.
Also, blisters are not a burn. It’s not like your skin gets rubbed so much that it heats up enough to cause a second degree burn (they’re the burns that cause blisters).
The fact is, blisters start as a tear under the skin surface, caused by it being stretched back and forth over and over again as you walk — until it fatigues. Here’s a video that shows how blisters form. When the damaged area fills with fluid, the skin bubbles up (that’s the blister roof) and you have what you’ll be familiar with as a blister.
Taping is a great blister skill to have when you’re out on the trails. Even if you don’t use these methods to save your own feet, you’ll have the ability to ease somebody else’s walk. It’s not the be-all-and-end-all as far as blister prevention goes, but it’s a very good place to start. For many, many people, taping is all they need. So, practise and perfect your taping techniques so you can get all you can out of this valuable blister prevention strategy.
If you’d like to learn more about preventing blisters or treating them in the aftermath, feel free to check out the Blister Prevention website.

Podiatrist
Rebecca Rushton BSc(Pod) is an Australian podiatrist with a special interest in the management of foot blisters in active people. She manages the popular website Blister Prevention and provides blister care at multiday running and walking events in Australia. You can follow her work on Facebook and YouTube.