Learning to Navigate: Using a Compass
Contours Walking Holidays
Learning to Navigate: Using a Compass
https://www.contours.co.uk/navigation-part-two-compass-skills
by Nicky Jaquiery
In my previous article on navigation I wrote about the importance of being able to read a map. I covered the basics of map symbols, visualising the landscape by reading contour lines, and pinpointing an exact location using grid references. I encouraged you to learn these map reading skills and to use them to find your way.
So, have you headed out and practised locating yourself on a map, orientating the map, and following a route on the ground to a specific destination? If you have, you’re ready to move on to the next stage: basic compass skills.
.jpg)
With the skills to use it properly, a compass is invaluable when navigating. It will show you which direction you’re facing and help you to orientate your map so that it matches your surroundings.
It comes into its own when you’re in isolated areas or when the weather conditions are challenging, especially in poor visibility.
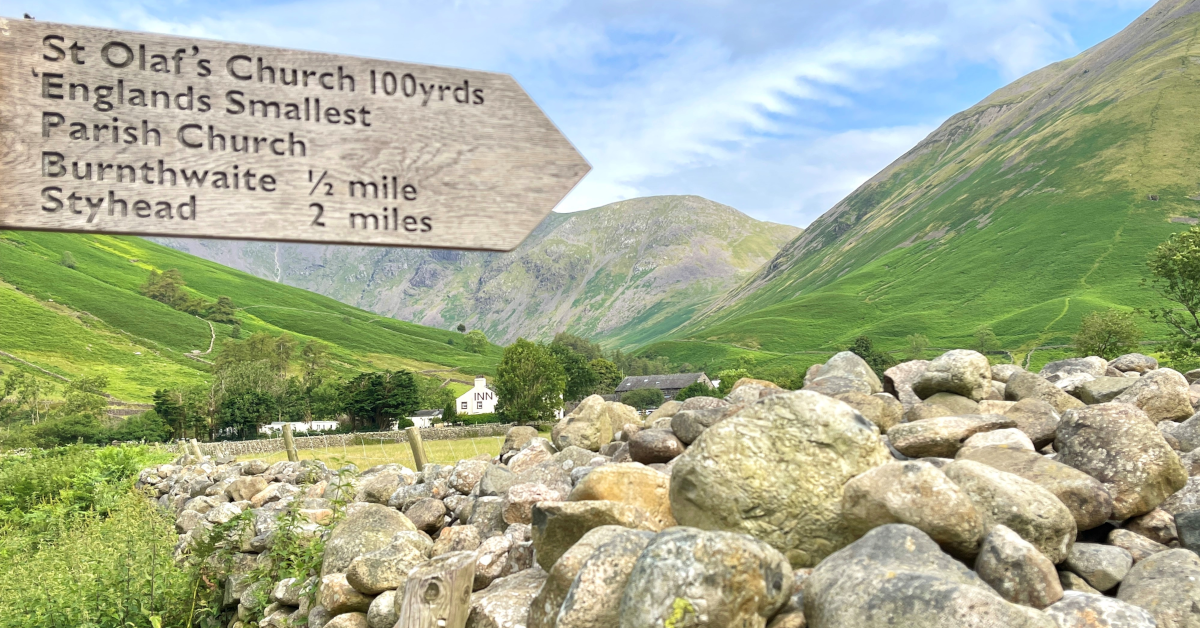
 For those of you who regularly walk in the UK, you’ll know only too well how quickly the mist can come down. What you could see a few minutes ago might have completely disappeared!
In these conditions a compass is vital to help you find your way: you can use it to work out a compass bearing so you can walk in a particular direction of travel even when nearby landmarks have been swallowed up by the mist.
Many of you will no doubt be thinking that you already know how to use a compass. After all, you carry one in your day pack.
But when was the last time you took out that compass and actually used it to navigate? If you’re like me, you’ll find it all too easy to rely on someone else to do the navigating so that you can simply switch off and enjoy the view!
Whether you know how to use a compass and need to refresh your knowledge, or you are new to using a compass and need some basic instruction, the following should help you.
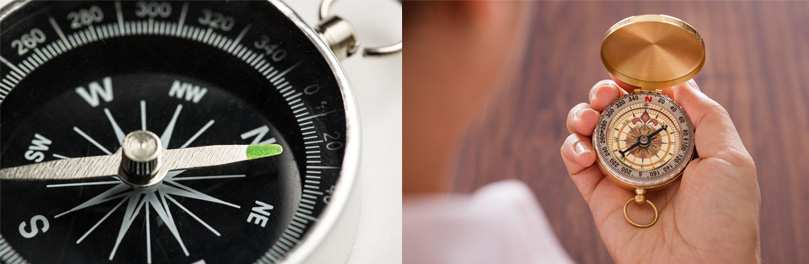
Although it may seem obvious, the first thing to do is to make sure you have the right compass. There are many different designs, but as a walker the compass that you’re most likely to come across is one made by Silva - for example, the classic Silva Ranger.
The Silva Ranger is a traditional baseplate compass, one of the most common and affordable types of compass. The liquid-filled compass is mounted on a rectangular base made of clear plastic, which has a magnifying lens for map reading, different scales and luminous markings for night navigation.
This compass, and others, have several features in common, which you need to familiarise yourself with before setting out on your walk. You may find it helpful to have a compass in front of you whilst reading the following.
Before setting out on your walk, make sure you’re familiar with your compass. Set it in front of you and identify all its parts.
The baseplate. A clear, plastic base on which the compass sits.
The compass housing. This is a clear, plastic circle in which the compass needle sits. Around the edge of the compass housing is a dial that rotates. This has a mark every two degrees, covering the 360 degrees of a circle. The four main compass points, N, S, E, and W, are also marked on the compass dial.
The compass needle. This is the needle spinning within the compass housing. The red end is for north and the white end is for south. This is the main working part of the compass.
The compass or orienting lines. These are the lines on the bottom of the compass housing that run parallel to the orienting arrow.
The orienting arrow. This is the fixed, non-magnetic arrow that is marked on the bottom of the compass housing.
The direction of travel arrow. This is the big arrow in the baseplate, pointing away from the compass housing.
The index line. This is an extension of the direction of travel arrow and is marked by a thin line in the compass dial.
Map scales 1:25 000, 1:50 000 and metric measurer. These are also known as Romer scales and are located at the end of the baseplate.

Feeling familiar with the features described above? Then you’re ready to learn some basic compass skills.
Although it sounds simple, before you do anything it’s important to make sure you hold your compass correctly. The correct position is flat in front of your chest.
Hold the compass flat in front of you with the direction of travel arrow pointing in the direction you’re walking.
The compass needle will swivel in either direction unless you’re facing exactly north. Rotate the compass housing until the red end of the compass needle is lined up with the red end of the orienting arrow, which points N.
The reading, or degrees, on the dial of the compass housing at the index line is the direction you’re facing. This is aligned to the direction of travel arrow.
An important use of a compass is to help you to set your map, orientating it so that it matches the surrounding landscape. This makes it much easier to relate the map to what you see on the ground.
Again, try to have the map flat, ideally on a level surface, before placing the compass anywhere on the map. Turn the map and your compass until the compass needle aligns with the north-south gridlines on the map. The red part of the compass needle needs to point to the top of the map as this is the northerly direction.
Your map is now ‘set’ and, by holding your map in this position, you should be able to identify the land features around you.
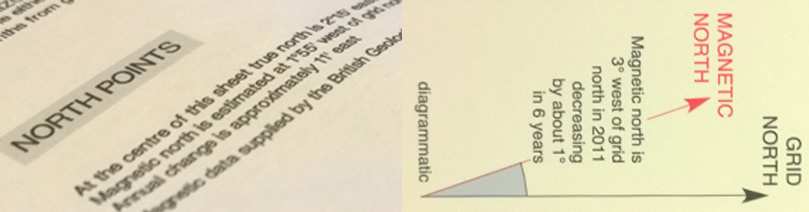
Calculating a compass bearing is not as difficult as it might sound! Before you start, you need to be familiar with the three norths in navigation.
True North is where the North Pole is. This is almost the same as Grid North. For walking purposes you don’t need to worry about True North.
Grid North is the north to which the grid lines on the map point.
Magnetic North is the direction in which the compass needle points, but it’s slightly different from Grid North. The difference between them is known as ‘magnetic variation’ or ‘magnetic declination’ and is shown on your map in the legend or key.
 It is important to correct for the magnetic variation when calculating your bearings, especially if you intend to walk on a single bearing for a long way.
Depending where you are, you will need to either add or subtract the magnetic variation amount from your bearing in degrees. In Britain the magnetic variation is always added, not subtracted. The phrase “add for Mag” is what I was taught to help me remember.

So, to follow a bearing in a particular direction of travel you need to know where you are and, of course, where you want to go!
Imagine a line connecting these two points. Place your compass on the map with the long edge of your baseplate lying along that line. Make sure the direction of travel arrow points towards your destination and not the other way round.
Next, rotate your compass housing until the N on the dial points towards the top of your map, i.e. Grid North. To make sure that you do this correctly, check that the orienting arrow is pointing north and that the orienting lines in the compass housing are parallel to the grid lines on the map.
Don’t make the common mistake of turning your compass housing so that the orienting arrow is pointing south. The orienting arrow still needs to point north even if you are walking south!
Now lift your compass off the map, look at the index line and read off the bearing at the point marked by the index line. This is your Grid Bearing and you must add the magnetic variation to make it magnetic.
For example, let’s assume your grid bearing is 56 degrees. If the magnetic variation is 2 degrees, the magnetic bearing is 58 degrees.
Rotate your compass housing to this figure as it is the bearing that you need to follow.
Make sure the direction of travel arrow is pointing straight ahead in front of you. Rotate your whole body and your compass until the red end of the compass needle is lined up with the red end of the orienting arrow. The direction of travel arrow will now point towards your destination.
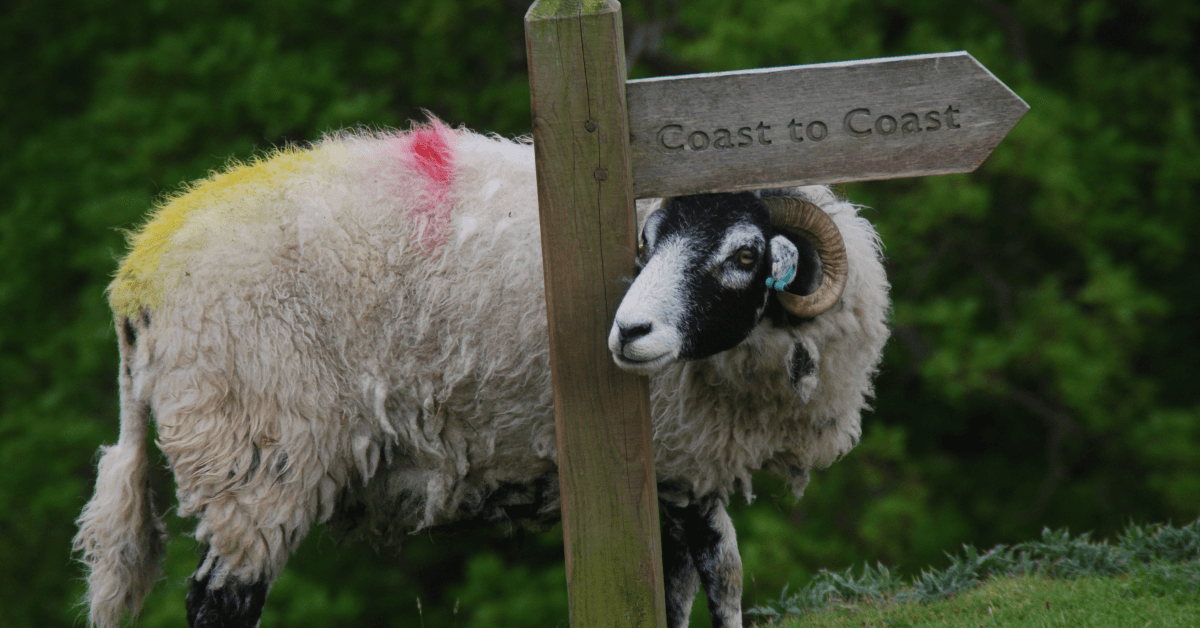
To walk on this bearing, look up and pick out a landmark or natural feature that is directly in line with where the direction of travel arrow points to. Make sure this is a reference point that won’t move, e.g. a rock (not a sheep!)
Walk towards this feature and, when you reach it, check your bearing. Pick out another feature and walk towards it. Make sure that you always follow the direction of travel arrow and not the compass needle. Continue in the same way until you arrive at your destination.
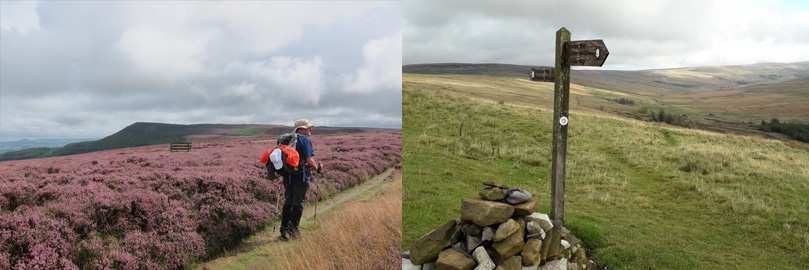
If all this sounds complicated, the best thing to do is to get a map of your local area, or somewhere that you know well, and go out and practise. Only when you are confident that you have mastered the basics of using a compass should you move on to more advanced compass techniques.
Once you can read a map and use a compass you’ll have no excuse for getting lost, and when you next go out walking you can take your turn navigating. You’ll be doing the person who always navigates a favour… They can switch off and take their turn to enjoy the view!